


How to Disassemble and Replace the Analog Sticks of the PS5 DualSense Controller: Complete Guide
Learn how to disassemble and replace the analog sticks of the PS5 DualSense controller, prevent drift, learn about the necessary tools, precautions, and tips for a safe repair.
Buzzo Games
1/17/20266 min read
Introduction
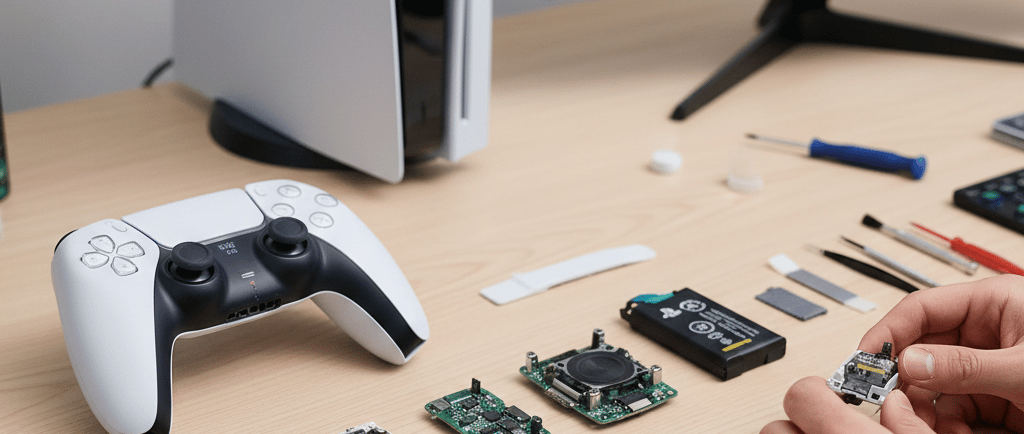
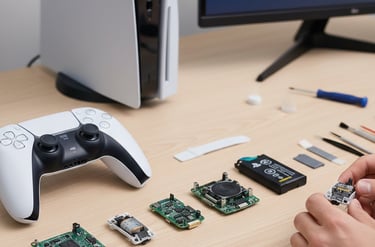
The PlayStation 5 DualSense controller is one of the most advanced on the market, but it is still subject to common issues such as analog stick drift. Fortunately, with the correct tools and attention to detail, it is possible to disassemble the controller and replace the analog sticks, restoring precision and extending its lifespan.
This guide is intended for technicians, enthusiasts, and advanced users.
⚠️ Warning: If your device is still under warranty, do not open it. Take it to a Sony authorized service center.
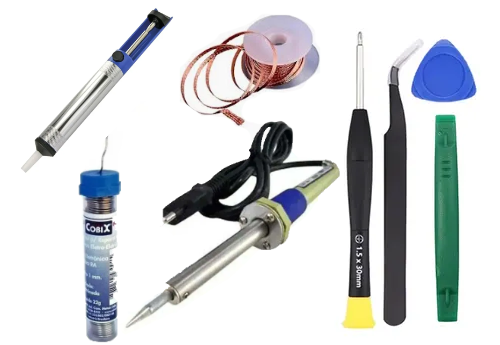
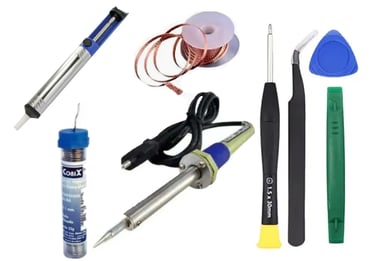
Required Tools
Before starting, have the following items ready:
1.5mm Phillips screwdriver
Plastic spudger or pry pick
Anti-static tweezers
Soldering iron (fine tip)
Solder sucker and desoldering braid
Compatible analog stick module (standard, Hall Effect, or TMR)
Isopropyl alcohol
Anti-static brush
Ad
Step by Step: How to Open and Replace the Analog Sticks on the DualSense Controller
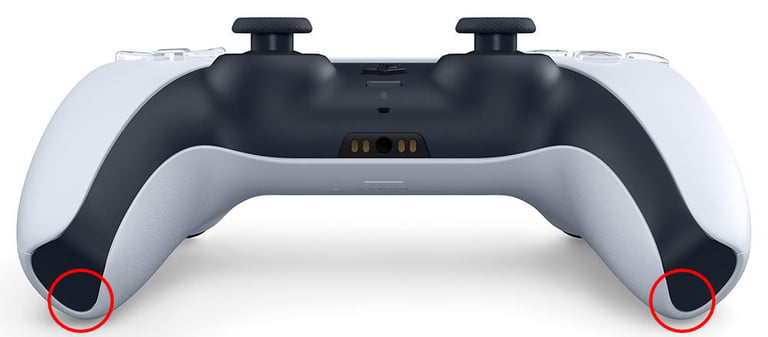
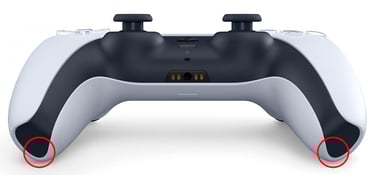
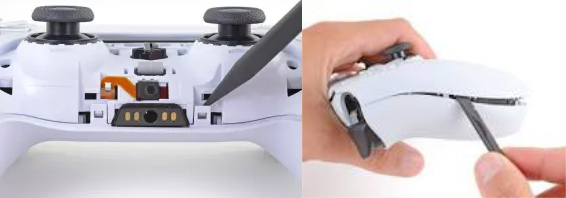
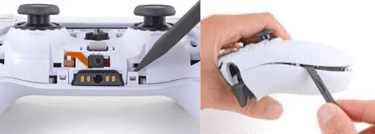
1. Removing the Front Trim
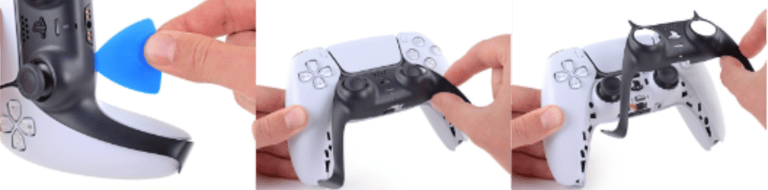
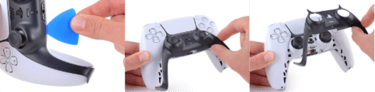
Insert the plastic spudger into the points indicated in the image next to it and release the clips on the lower part of the front frame.
Using the spudger, carefully release the rest of the front frame to avoid damaging the clips.
Once all clips are released, carefully lift the front frame and remove it, as shown in the image next to it.
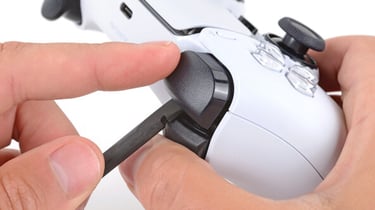
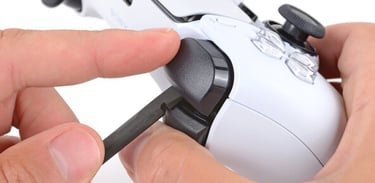
2. Remove the R1 and L1 Buttons
Using your thumb, press and hold the R2 button.
Insert a plastic spudger between the R1 and R2 buttons, as shown in the image, and carefully lift the R1 button until it comes off.
Repeat the same procedure with the L1 button.
Ad
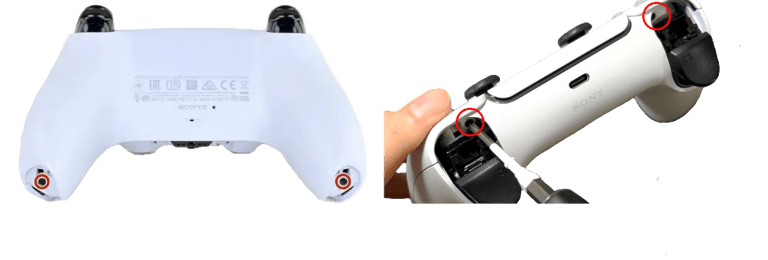
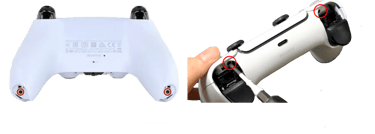
3. Remove the Screws
After removing the front frame and the R1 and L1 buttons, you will have access to 4 screws, as shown in the images next to it.
Remove the screws using a 1.5mm Phillips screwdriver.
4. Removing the Back Cover
Using the tip of a plastic spudger, release the clips next to the microphone, as shown in the image.
Using the flat side of the spudger, release the clips around the entire controller. Keep in mind that near the R1 and L1 buttons, the clips are larger and require extra care.
After releasing all the clips, remove the back cover.
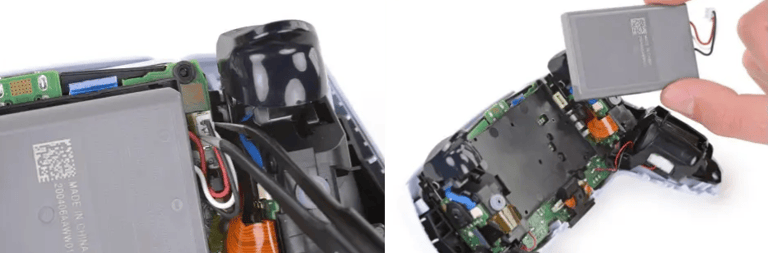
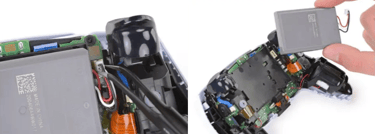
5. Removing the Battery
With the controller already opened, use tweezers to remove the battery connector, as shown in the image next to it.
After disconnecting the connector, the battery can be removed from its holder.
Ad
6. Removing the Microphone and Battery Support
Using tweezers, carefully disconnect the microphone flat cable and remove the microphone from its base.
Using a 1.5mm Phillips screwdriver, remove the screw that secures the battery holder, as identified in the image next to it.
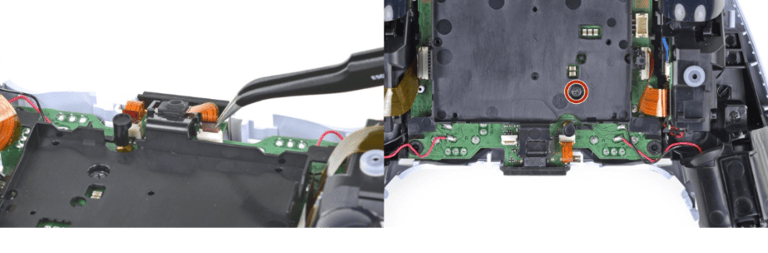
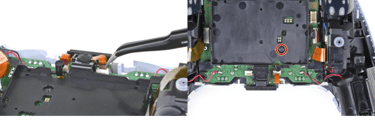
7. Removing the Main Board Flat Cables
Using tweezers, disconnect all flat cables from the main board, as identified in the image next to it.
Remove them carefully to avoid damaging them.
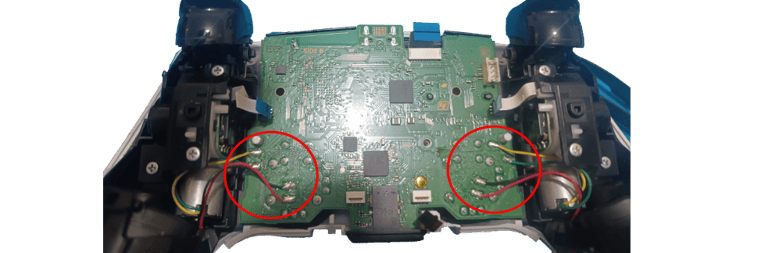
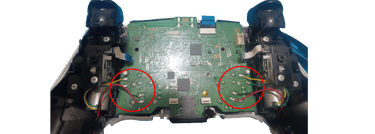
8. Disconnecting the Power Cables from the Main Board
If you are not experienced with using a soldering iron, it is recommended to learn how to use one before continuing.
Using the soldering iron, desolder the cables connected to the main board, as identified in the image next to it.
After disconnecting all cables and flat cables from the main board, you can remove it.
Ad
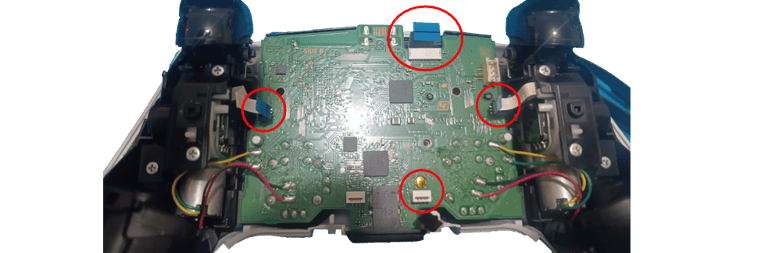
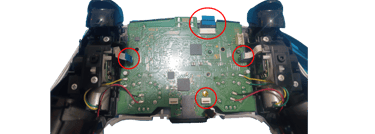
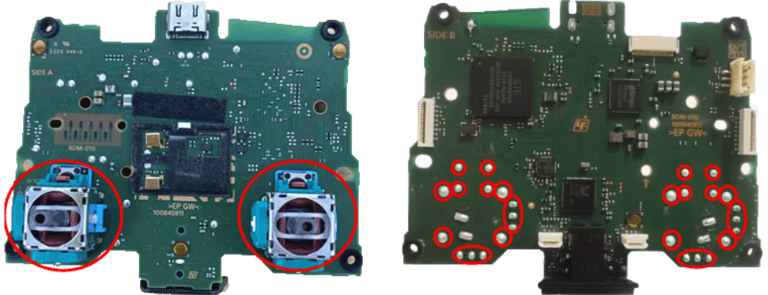
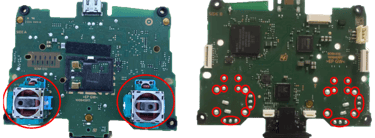
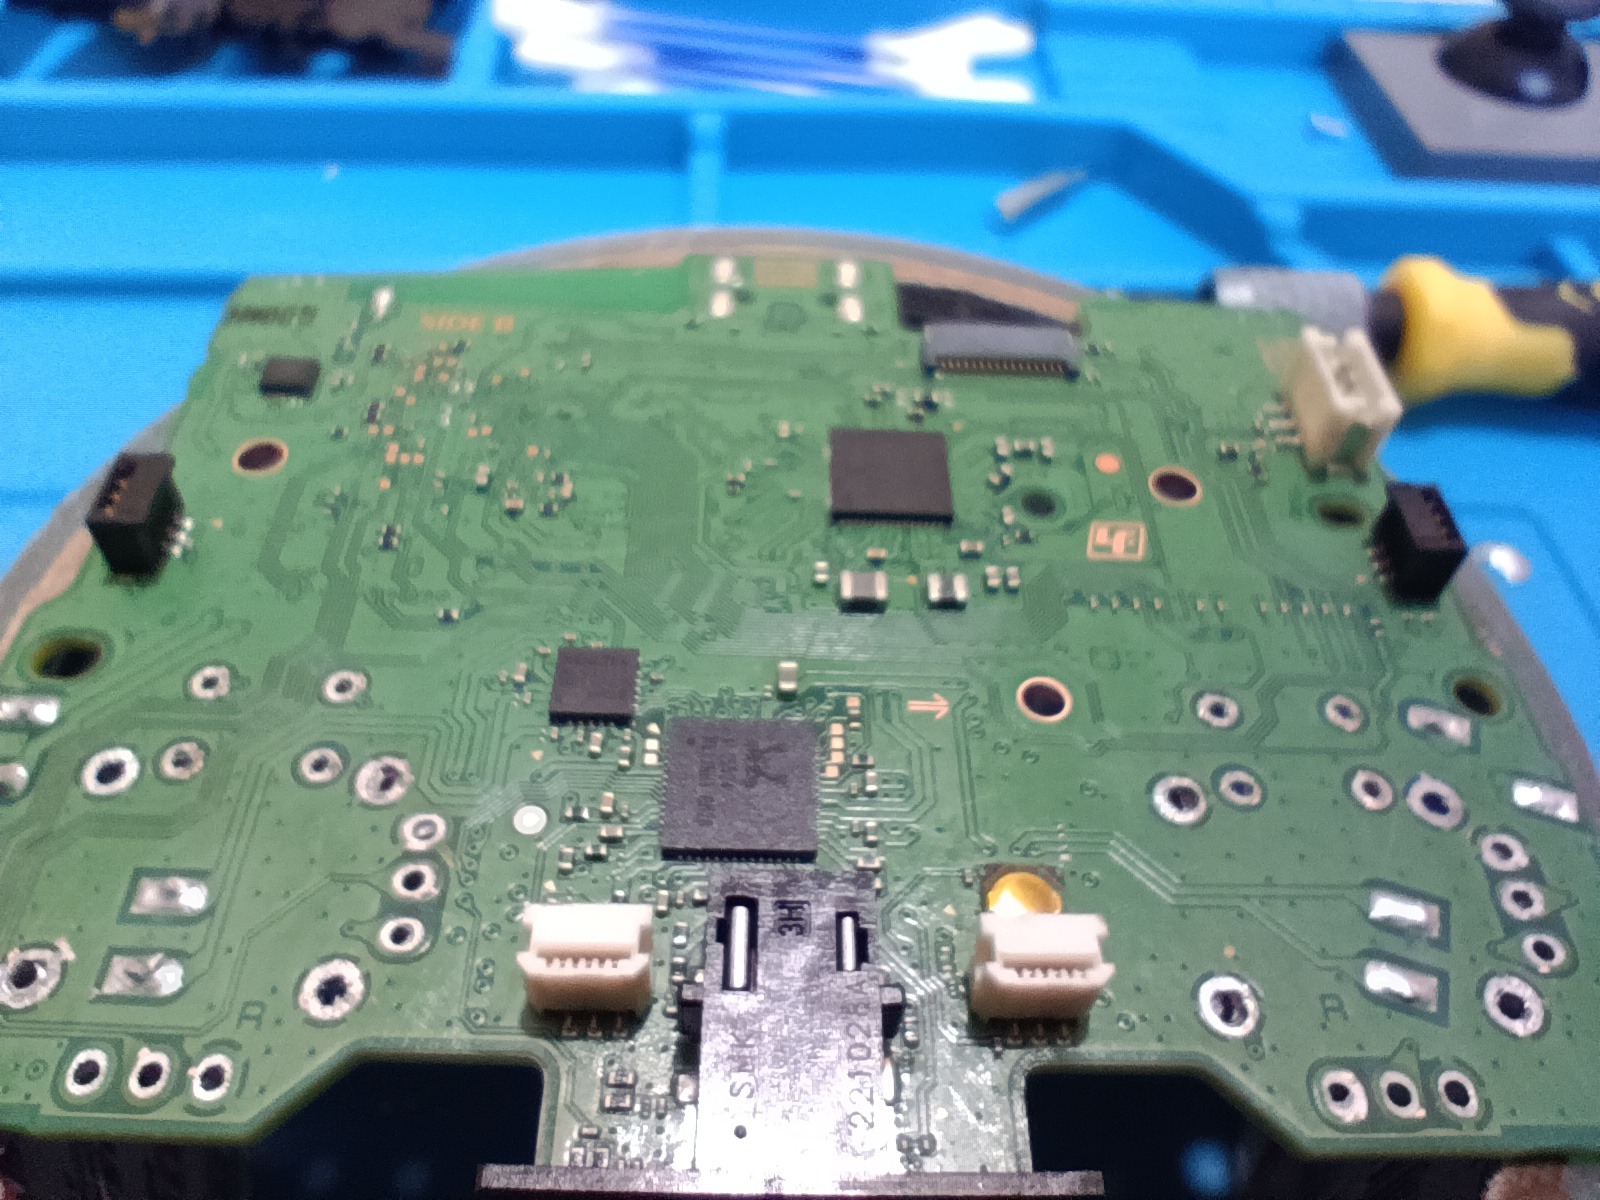
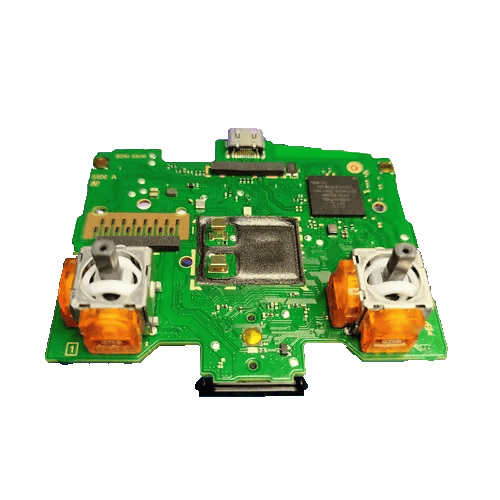
9. Identifying the Main Board and the Analog Sticks
In the first image next to it, we can see the main board and the factory-standard analog sticks.
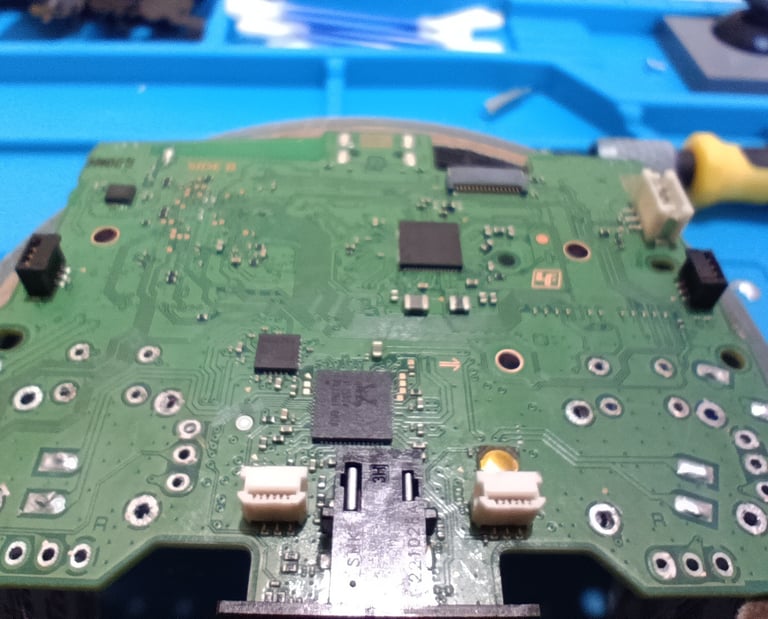
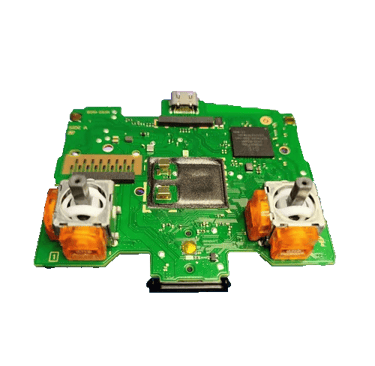
In the second image next to it, we have the main board on the opposite side of the first image, where the points that must be desoldered are identified.
At this stage, it is important to have some technical skill to remove all solder points and the analog stick module without damaging the board, its traces, or other nearby components such as resistors, capacitors, and circuits.
To remove the solder, you should use a solder sucker, desoldering braid, tin solder, and solder flux or solder paste.
Apply a small amount of new solder to each terminal you want to desolder. This will make the removal process easier.
Heat the terminal you want to remove and use the solder sucker to remove the solder. Repeat this process on all other terminals.
Do not use screwdrivers, tweezers, or spudgers to force the analog stick out, as this may damage the board.
10. Cleaning the Board
After removing the analog sticks, apply a small amount of solder flux to the board terminals where the solder was removed. Then, use the desoldering braid to clean any remaining solder.
Apply a small amount of isopropyl alcohol to the board surface and clean it using an anti-static brush or a cotton swab.
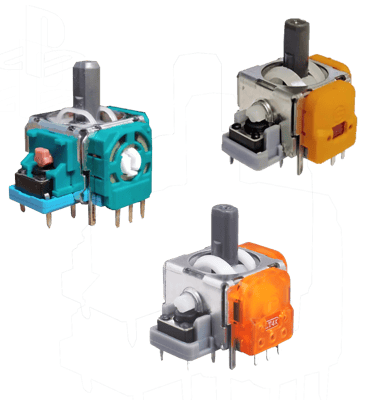
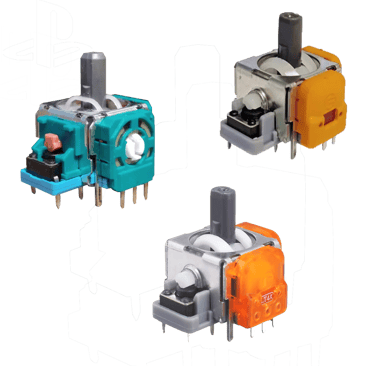
11. Choosing Which Analog Stick to Use
Now it’s time to choose which analog stick you will use.
There are 3 types available on the market: Original Standard, Hall Effect, and TMR.
Learn more about the differences between them in our article.
Ad
12. Install the New Analog Stick
After choosing the analog stick you will install, place it where you removed the old one and hold it firmly against the board to prevent misalignment.
Both analog sticks should remain in the same position.
Solder all terminals using solder paste or solder flux to avoid cold solder joints.
Clean the board using isopropyl alcohol and a cotton swab or anti-static brush.
13. Now let’s reassemble your controller.
With the new analog sticks already installed, it’s time to reassemble your controller.
Reinstall the buttons onto the analog sticks.
Place the board back into the controller.
Resolder the cables removed in step 8, making sure to follow the correct color sequence.
Using tweezers, reconnect the flat cables that were removed in step 7.
Reinstall the battery holder and screw it back in place.
Reconnect the microphone that was removed in step 6.
Connect the battery and place it back into its holder.
Close the controller, making sure all clips are properly secured.
Screw the controller back together.
Reinstall the R1 and L1 buttons.
Reinstall the front trim.
14. Testing and Calibration
After reassembly:
Test the analog sticks on the console or PC
Use available calibration tools
Check dead zones and response
❌ Common Mistakes to Avoid
Excessive heat on the board
Forcing flex cables
Cold or poorly positioned solder joints
Using low-quality analog sticks
Forcing component removal
Using improper tools
Is It Worth Doing at Home?
Yes, if you have soldering experience
No, if you have never disassembled sensitive electronics
In this case, the best option is to look for a specialized technical repair service.
Ad
Conclusion
Replacing the analog sticks on the DualSense controller is an effective solution to eliminate drift and restore original performance. With care, proper tools, and quality components, the repair can be durable and cost-effective.
Anúncio
Browse our website
Developer
Buzzo Games
contato@buzzogames.com.br
© 2024. All rights reserved.